.svg)
.webp)
What is Elasticsearch?
Elasticsearch is a Lucene-based search engine that works on an HTTP web interface and JSON schema-free documents. It simply makes searching, filtering, and sorting easier, thanks to what you can quickly give results to your clients. Also, a server doesn't need so much time for an operation, what lowers the overall cost of the project.
Can Elasticsearch be used as a database? The answer is no - it wasn't built for this purpose. Due to that, it’s best if you use it as an additional service in your project next to PostgreSQL, MySQL, or other databases.
Who uses Elasticsearch?
Plenty of the world’s biggest companies uses Elasticsearch to provide search functionality for their users. The proof of the popularity of this tools lies in their names, among whom are:
First steps of setting up your Elasticsearch project
The first thing you need to do is clone your base code project and install `docker-compose`. If you don't have Docker Compose, check out how it install it in the official Docker documentation.
Your goal is to create an endpoint with a list of articles from an Elasticsearch server. For the purpose of this article To make the interaction with Elasticsearch easier, I will work with ready-to-use Python packages:
- elasticsearch-dsl,
- django-elasticsearch-dsl,
- django-elasticsearch-dsl-drf.
Haystack vs Elasticsearch DSL
Haystack is a great open-source tool that provides modular search for Django. Unfortunately, it doesn’t fully support the newest version of Elasticsearch. To overcome that, I will use elasticsearch-dsl, which was created by Elasticsearch original development team and therefore has a better support for new releases.
To achieve your goals faster, you will need to use django-elasticsearch-dsl-drf. You don’t need any advanced solutions - it’s efficient enough and offers a lot of basic components that are ready-to-use in your project.
How to run elasticsearch project?
Add connections config in settings.py:
ELASTICSEARCH_DSL = {
    'default': {
        'hosts': 'elasticsearch:9200'
    },
}
You need to give Django an information where your elasticsearch server is.
You’ve downloaded the repository - now it’s time to run your project. You can do it by using `docker-compose up --build` command.
Look at your code and you see for yourself that you have one app articles with model Article, which will be the basis of our work.
Using the manage.py command, create migration in your database:
docker exec -it elastic_drf_example_django python manage.py migrate
Create articles/documents.py file. First, you need to import necessary modules and create article index. At the same time, you can also set replicas and shards:
from elasticsearch_dsl import analyzer

from django_elasticsearch_dsl import DocType, Index, fields

from articles import models as articles_models

article_index = Index('articles')
article_index.settings(
    number_of_shards=1,
    number_of_replicas=0
)

html_strip = analyzer(
    'html_strip',
    tokenizer="standard",
    filter=["standard", "lowercase", "stop", "snowball"],
    char_filter=["html_strip"]
)
After that, you can create your Article document. To do so, you need to add article index decorator to ArticleDocument class:
@article_index.doc_type
class ArticleDocument(DocType):
    """Article elasticsearch document"""

    id = fields.IntegerField(attr='id')
    title = fields.StringField(
        analyzer=html_strip,
        fields={
            'raw': fields.StringField(analyzer='keyword'),
        }
    )
    body = fields.TextField(
        analyzer=html_strip,
        fields={
            'raw': fields.TextField(analyzer='keyword'),
        }
    )
    author = fields.IntegerField(attr='author_id')
    created = fields.DateField()
    modified = fields.DateField()
    pub_date = fields.DateField()

    class Meta:
        model = articles_models.Article
You’re halfway there - now it’s time to move on and create an articles/serializers.py file. Creating serializer is similar to the creation of a normal DRF endpoint. The only difference is that in this case you need to provide the document.
from django_elasticsearch_dsl_drf.serializers import DocumentSerializer

from articles import documents as articles_documents


class ArticleDocumentSerializer(DocumentSerializer):
    class Meta:
        document = articles_documents.ArticleDocument
        fields = (
            'id',
            'title',
            'body',
            'author',
            'created',
            'modified',
            'pub_date',
        )
At this point, you can create your endpoint in articles/views.py. Let’s start by adding imports:
from django_elasticsearch_dsl_drf.constants import (
    LOOKUP_FILTER_RANGE,
    LOOKUP_QUERY_IN,
    LOOKUP_QUERY_GT,
    LOOKUP_QUERY_GTE,
    LOOKUP_QUERY_LT,
    LOOKUP_QUERY_LTE,
)
from django_elasticsearch_dsl_drf.filter_backends import (
    FilteringFilterBackend,
    OrderingFilterBackend,
    DefaultOrderingFilterBackend,
    SearchFilterBackend,
)
from django_elasticsearch_dsl_drf.viewsets import DocumentViewSet

from articles import documents as articles_documents
from articles import serializers as articles_serializers
Below, create your article endpoint at the end of the file:
class ArticleViewSet(DocumentViewSet):
    document = articles_documents.ArticleDocument
    serializer_class = articles_serializers.ArticleDocumentSerializer

    lookup_field = 'id'
    filter_backends = [
        FilteringFilterBackend,
        OrderingFilterBackend,
        DefaultOrderingFilterBackend,
        SearchFilterBackend,
    ]

    # Define search fields
    search_fields = (
        'title',
        'body',
    )

    # Filter fields
    filter_fields = {
        'id': {
            'field': 'id',
            'lookups': [
                LOOKUP_FILTER_RANGE,
                LOOKUP_QUERY_IN,
                LOOKUP_QUERY_GT,
                LOOKUP_QUERY_GTE,
                LOOKUP_QUERY_LT,
                LOOKUP_QUERY_LTE,
            ],
        },
        'title': 'title.raw',
        'body': 'body.raw',
        'author': {
            'field': 'author_id',
            'lookups': [
                LOOKUP_QUERY_IN,
            ]
        },
        'created': 'created',
        'modified': 'modified',
        'pub_date': 'pub_date',
    }

    # Define ordering fields
    ordering_fields = {
        'id': 'id',
        'title': 'title.raw',
        'author': 'author_id',
        'created': 'created',
        'modified': 'modified',
        'pub_date': 'pub_date',
    }

    # Specify default ordering
    ordering = ('id', 'created',)
In the code above, there are some attributes that will be necessary in your project:
- search_fields - help us to search in all fields in one request,
- filter_fields - list which available fields to filter on,
- ordering_fields - list which available fields to order on,
- ordering - you can set default order.
In this code, I’ve also introduced id filter lookups:
       'id': {
            'field': 'id',
            'lookups': [
                LOOKUP_FILTER_RANGE,
                LOOKUP_QUERY_IN,
                LOOKUP_QUERY_GT,
                LOOKUP_QUERY_GTE,
                LOOKUP_QUERY_LT,
                LOOKUP_QUERY_LTE,
            ],
        },
Id field has a variety of lookups and gives developers the possibility to define their own custom list that suits their project best. Among those lookups can be:
- LOOKUP_FILTER_RANGE - to set the extent of your search,
- LOOKUP_QUERY_GT - to search for the elements greater than the given value,
- LOOKUP_QUERY_GTE - to search for the elements equal and greater than the given value,
- LOOKUP_QUERY_LT - to search for the elements lesser than the given value,
- LOOKUP_QUERY_LTE - to search for the elements equal and lesser than the given value.
The final step is to add a router and URL to your project by creating articles/urls.py:
from rest_framework.routers import SimpleRouter

from articles import views


app_name = 'articles'

router = SimpleRouter()
router.register(
    prefix=r'',
    base_name='articles',
    viewset=views.ArticleViewSet
)
urlpatterns = router.urls
Now add include in django_elastic_drf_example/urls.py:
path('articles/', include('articles.urls')),
Good news! You’ve just finished writing endpoint for the list of your articles! However, don’t start celebrating yet - now in your application, you need to create said articles, index, and user.
How elasticsearch stores data?
Let’s start by creating a new superuser with the help of Django manage.py command:
docker exec -it elastic_drf_example_django python manage.py createsuperuser
After that, open the admin panel to log or sign in by using the credentials you’ve set in the previous command. Now you can create new articles:
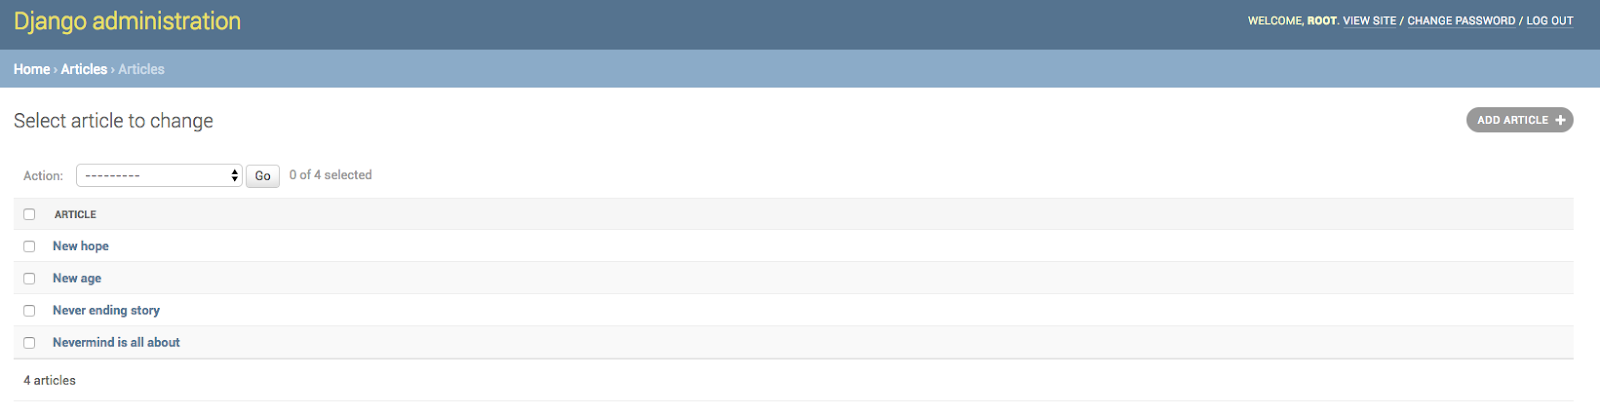
Django admin panel - list of articles
The last step is to create an index and populate articles’ data to search by using Elasticsearch server instead of basing it on the backend side of the project:
docker exec -it django_elastic_drf_example_django python manage.py search_index --create
What can Elasticsearch do in your project?
With the project finished, now you can:
- http://0.0.0.0:8000/articles/ - see all of your articles,
- http://0.0.0.0:8000/articles/?search=New%20hope - add `search_fields`, such as title and body - in this example, you can see all of the articles containing the `New hope` value,
- http://0.0.0.0:8000/articles/?search=title|New - find articles containing the ‘New’ value in their titles,
- http://0.0.0.0:8000/articles/?search=title|New%20hope&search=body|an%20example%20description - simultaneously search for articles containing different values - in this case, you can see all of the articles containing the `New hope` value in the title and “an example description” in the body.
Those are of course only the examples of the possible searches - check out the complete list in the elasticsearch-dsl-drf documentation.
What are the key features of Elasticsearch-dsl-drf?
Django-elasticsearch-dsl-drf provides plenty of functionalities, such as:
- suggestions - suggests similar looking terms based on a provided text in the query,
- highlighting - enables you to receive highlighted snippets in your search results, thanks to what you can present users’ with the best match for their queries.
It is possible to create this project without django-elasticsearch-dsl-drf and to use only django-elasticsearch-dsl. However, this package is best for the basic usage and works great if you don’t want to waste time.
Why should you use Elasticsearch?
In this article, I’ve shown you how to create a simple endpoint with lists of articles. Thanks to Elasticsearch you were also able to create a search functionality. Like I wrote at the beginning, Elasticsearch provides us with a lot of full-text searching functionalities and is great for bigger applications with a lot of users where time is of great importance.
Thanks for reading - don’t hesitate to comment and share your views on working with Django and Elasticsearch!


Navigate the changing IT landscape
Some highlighted content that we want to draw attention to to link to our other resources. It usually contains a link .
.svg)
.svg)
.svg)
.avif)

.avif)
.avif)
.avif)