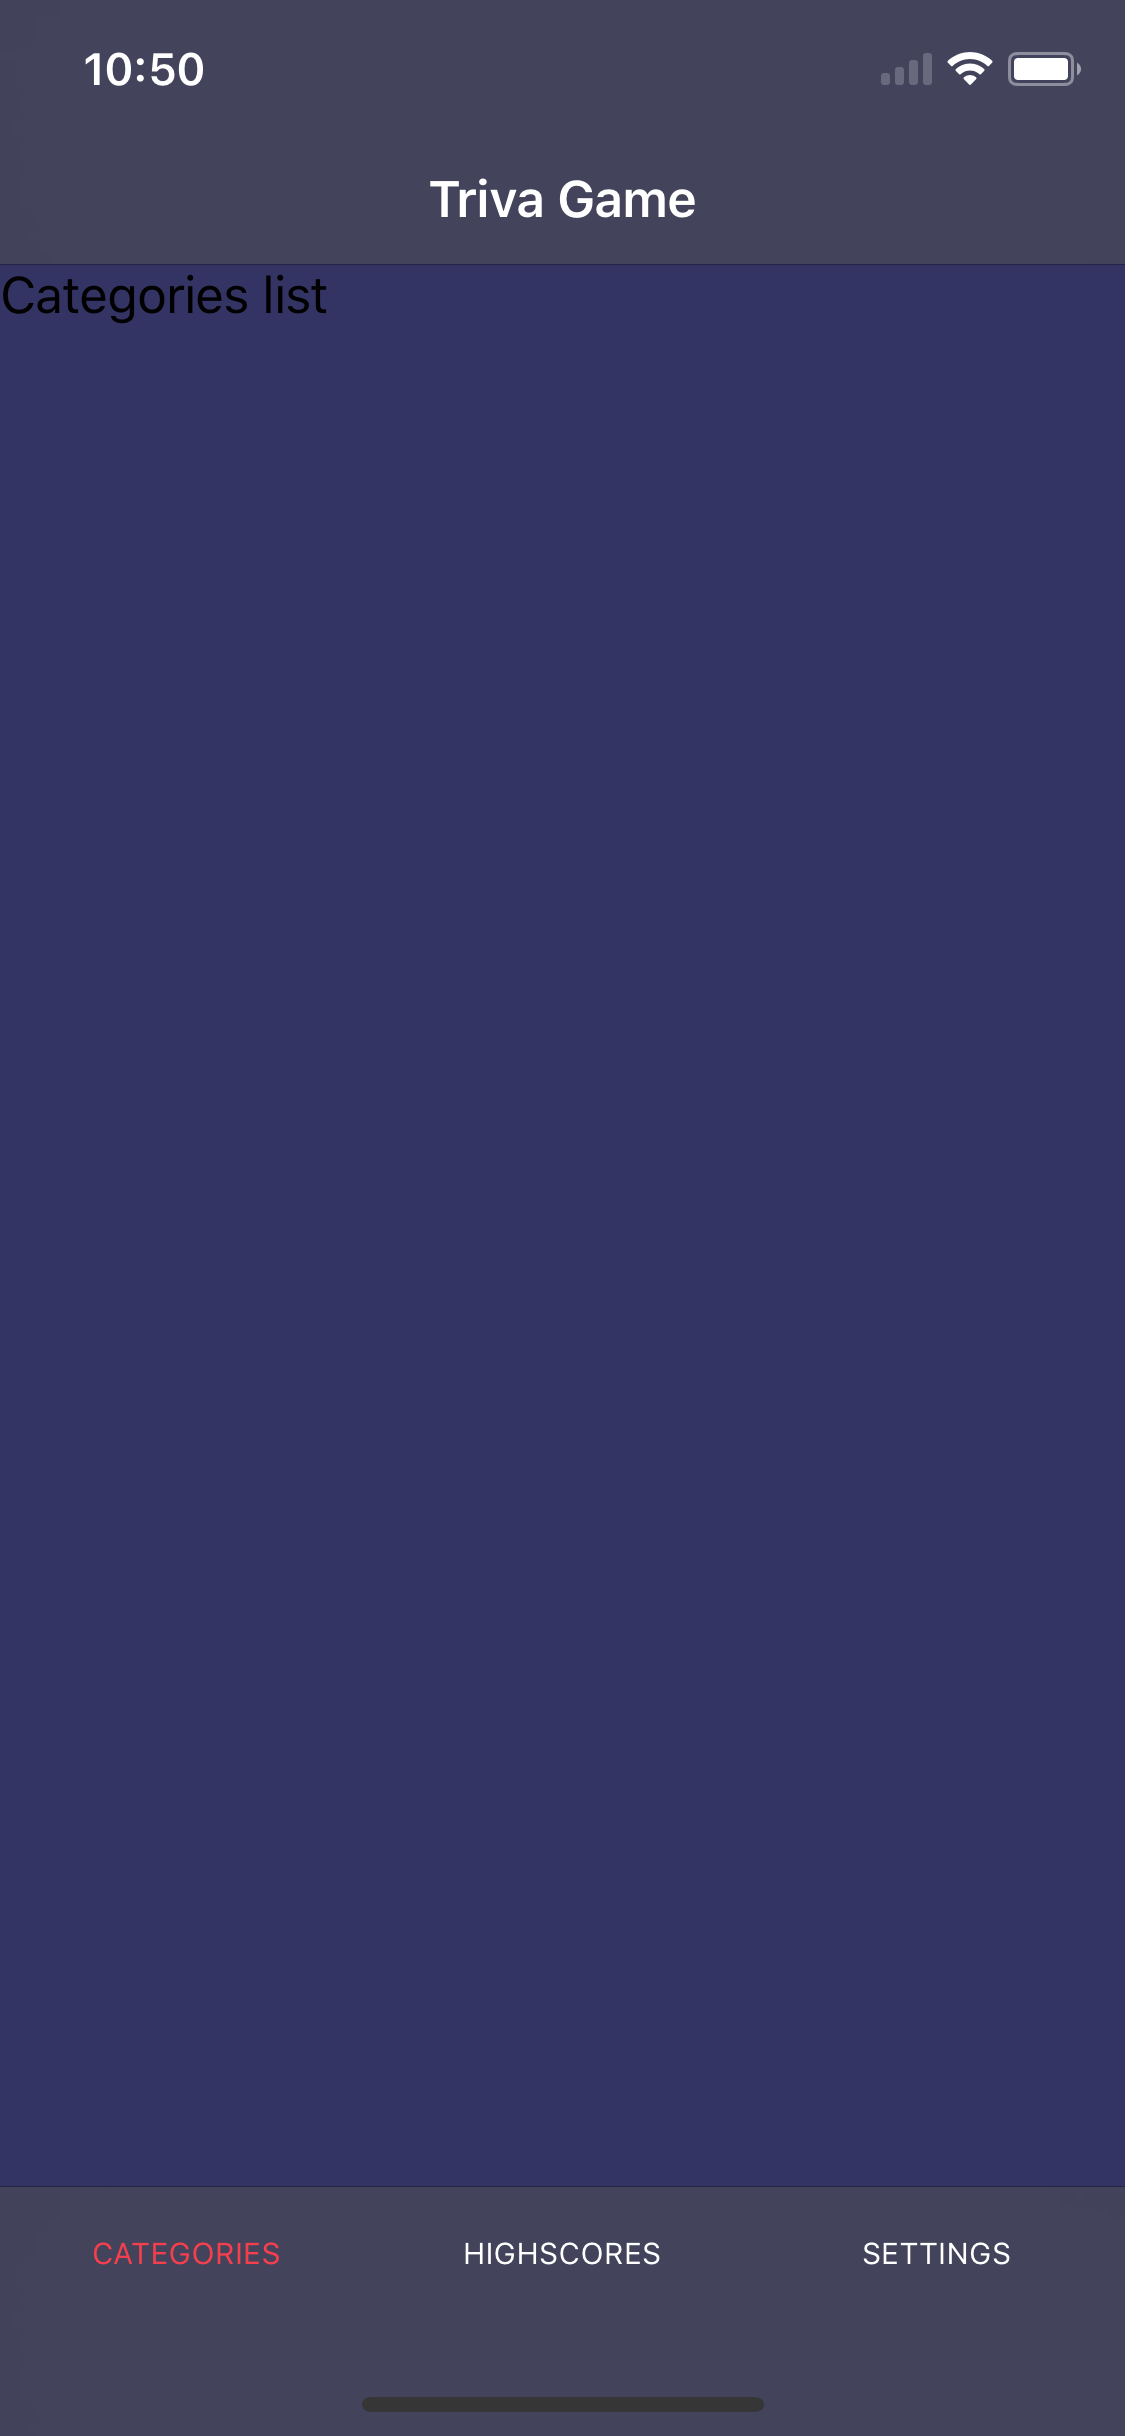
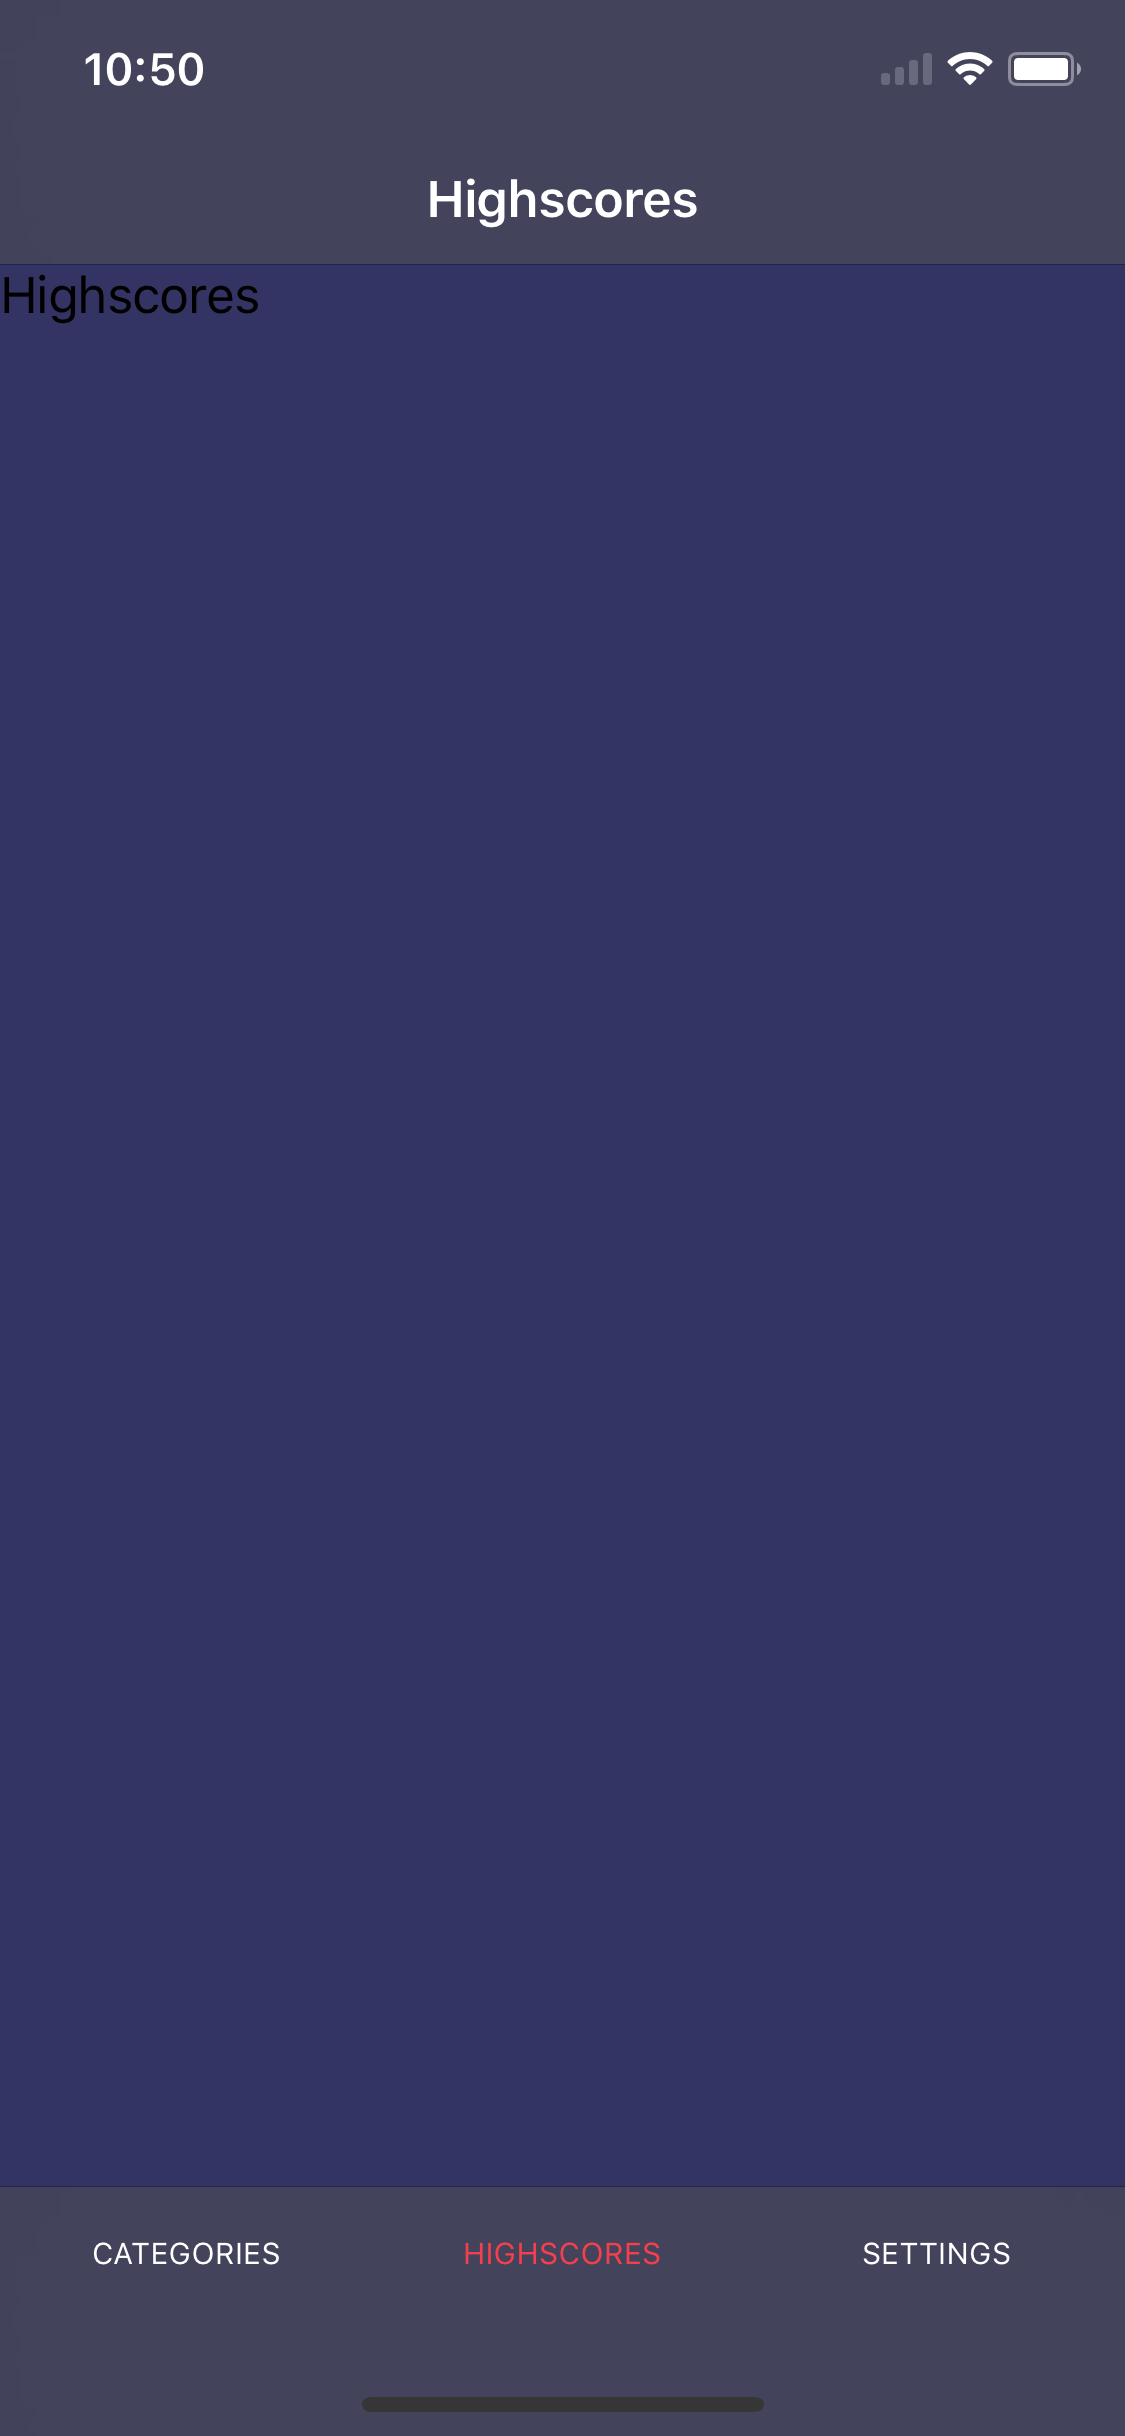
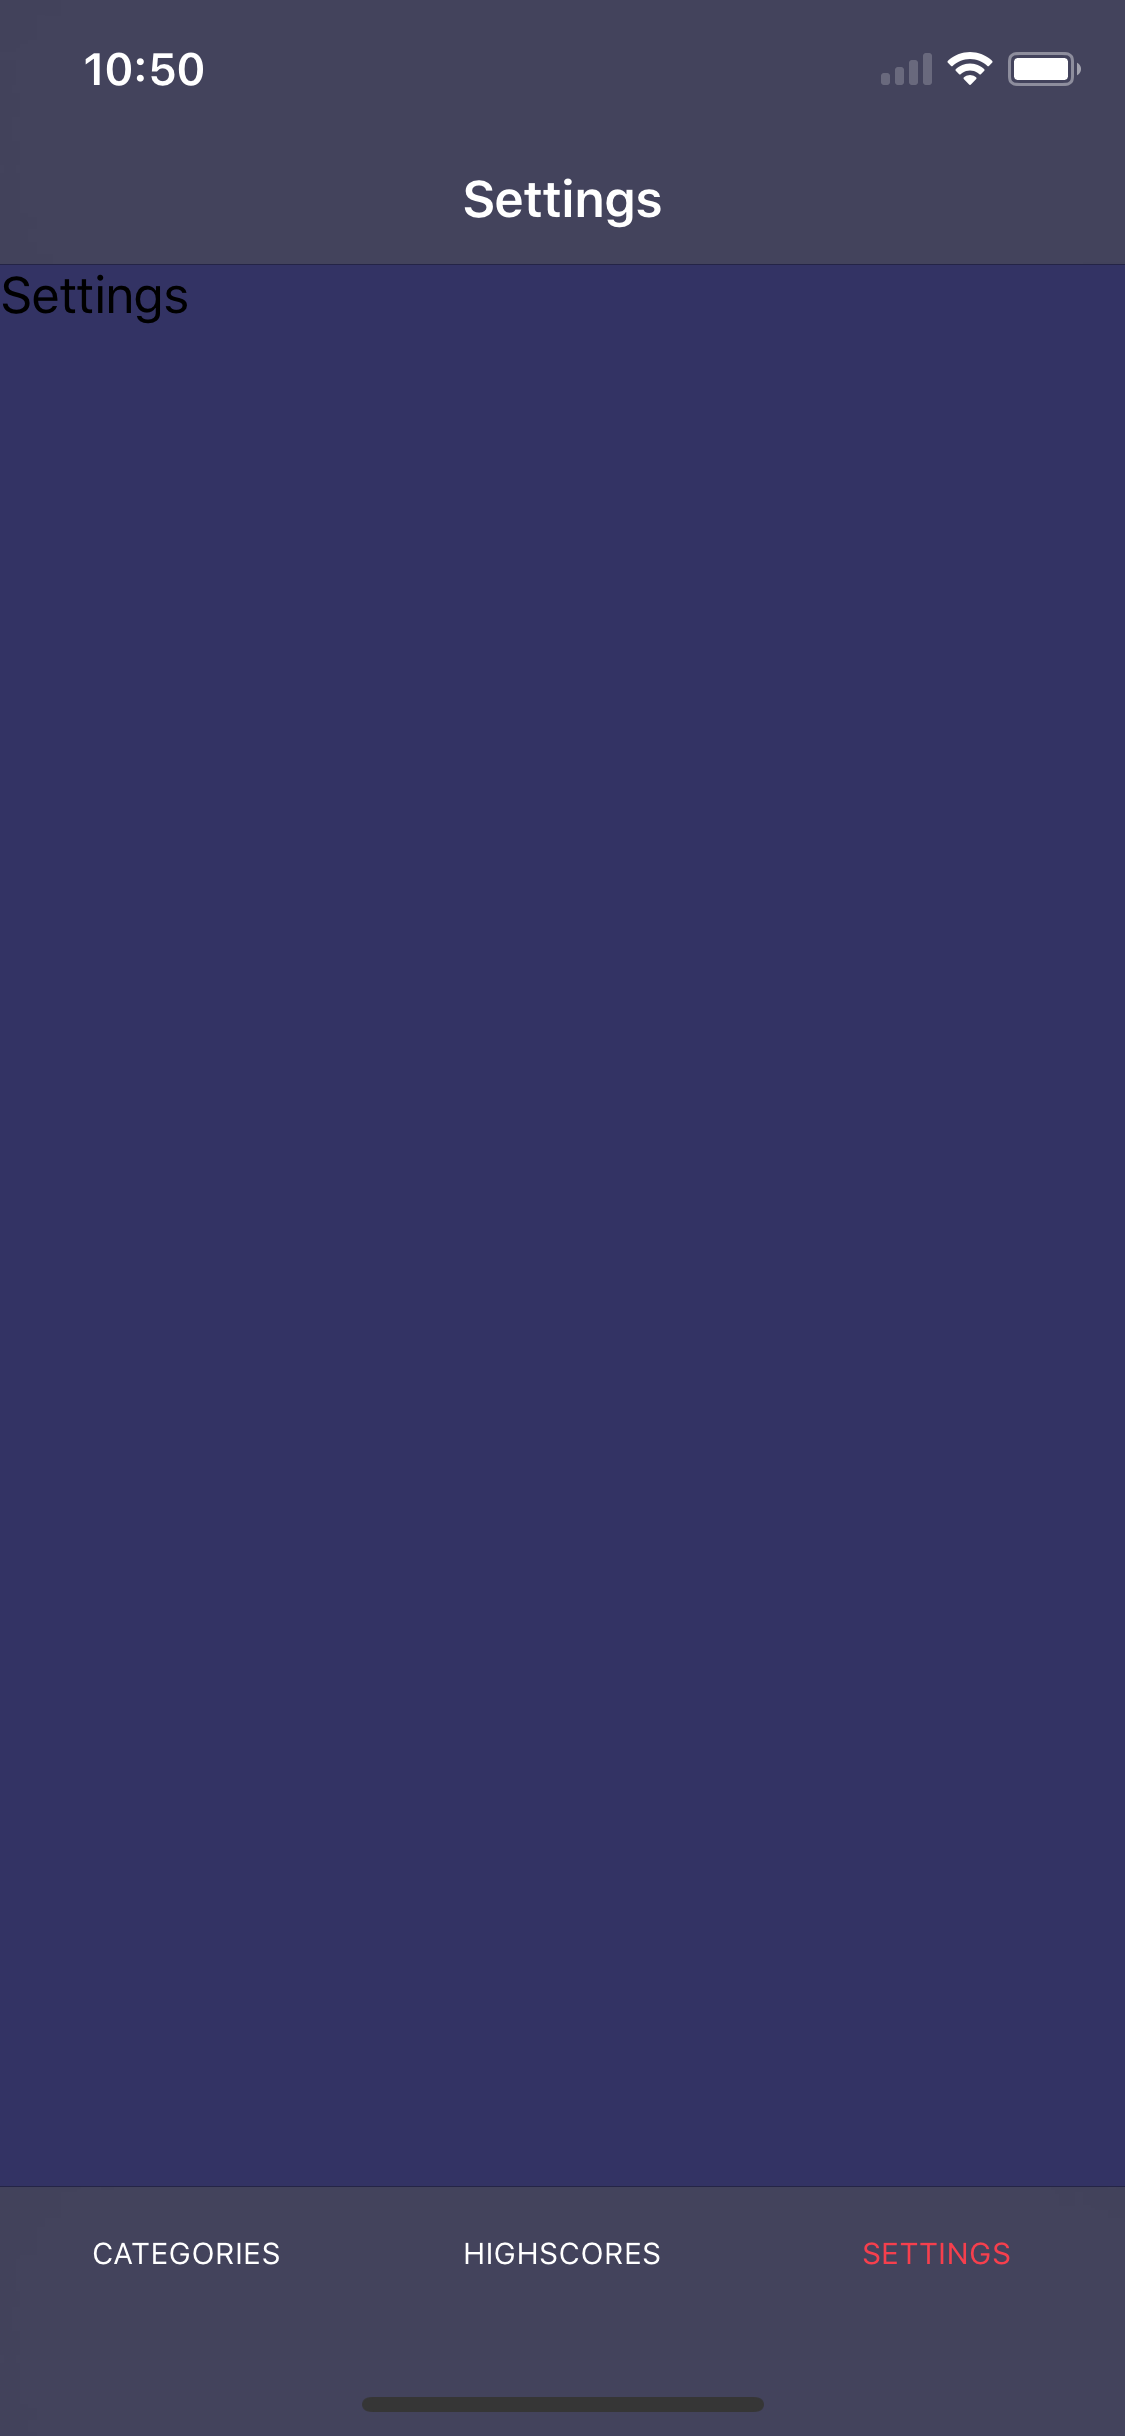
In our exemplary NativeScript project we will build is game in which a user selects a category of questions and answer them. We will improve this app by adding a time limit for the answer and enabling to change game settings This is how the app should look like in the end but let's start from the very beginning by introducing NativeScript framework.


What is NativeScript?
While most of the attention in cross-platform mobile development is paid to the competition of React Native and Flutter there’s another alternative right behind the corner having an interesting offer for software developers. NativeScript, an open-source framework created by Progress Software enables to write one source code in JavaScript which is afterward compiled to languages like Objective-C /Swift for iOS and Java for Android. This makes it work on both platforms and keep native optimization as opposed to hybrid apps which are shown in a web view in the browser.
Great advantage distinguishing NativeScript from other solutions is freedom in the way you write code. It enables to create mobile apps in different combinations like:
- Nativescript + Angular;
- Nativescript + Vue.js;
- Nativescript + TypeScript;
- Nativescript + JavaScript.
As you can see the choice is pretty wide thanks to NativeScript’s open-source nature enabling to contribute by devs with different coding preferences. This s exactly the way how Vue.js implementation to NativeScript has been established.

What do you need to know at the very beginning?
In our articles, we will use NativeScript with Angular so you will need to be familiar with the second one and also with Typescript at least at the basic level. However, you don’t need to know NativeScript on its own. It has a shallow learning curve and I’ll be explaining the components we’ll use on the way. I also recommend looking regularly in the documentation because it’s written in a clear and intelligible way.
Let’s start!
The first thing we need to do is to prepare a work environment and install Nativescript CLI. If you have created any mobile apps e.g. using React Native, you’ll halfway through the success.
Installing Nativescript CLI usually comes down to run one command in the terminal:
npm install -g nativescript@5.4.2
If you’ll meet any problems, check the official documentation where you’ll find a detailed description of the set-up process. You will also find there a step-by-step guide about preparing an environment for your operating system and install particular phone emulators which is useful in case it’s the first mobile app you build:
Repository and structure
Before we will start any coding you’ll need to use my starting repository. It is divided into steps following which we will develop our game. After finishing every each of them I recommend joining next one through the particular branch. It will provide CSS files for existing components to our app. You can also copy CSS files directly from the repository without changing branches if you prefer this way better.
So to sum up: we download our repository and go to the first step of the app. To do that you need to write in the terminal following commands:
git clone -b step1 https://github.com/merixstudio/TriviaGameNativescript.git
cd TriviaGameNativescript
npm install
As you can see, the catalog and file structure look exactly the same as in the web app development with Angular. This is why I mentioned NativeScript has a shallow learning curve - it has a lot in common with its web counterparts.
At this moment we will focus only on src/app catalog as it’s where we will write the whole app and its basic files such as main component (app.component.ts, app.component.html), module (app.module.ts) and routing (app-routing.module.ts) are located. Additionally, we’ve got module catalog, in which we will divide our app into particular sections. As you probably noticed there are already some sections created there and they are empty screens: Categories, Highscores, and Settings divided into tabs. I’ve had to prepare them in advance so we can save some time but if you’re interested in how to create them - there is an article showing the process it the official NativeScript blog.
I’ve just followed the description published there and omitted this piece.
Here’s what I’ve done in our repository:
1. I created a new app in Nativescript CLI.
tns create TriviaGameNativescript --ng --appid tg
2. I changed the configuration files
tslint.json
.editorconfig
.gitignore
3. I created 3 new modules and containers for equivalent categories in tabs.
ng generate module ./module/categories
ng generate module ./module/highscores
ng generate module ./module/settings

ng generate component ./module/categories/containers/categories-list --module ./module/categories
ng generate component ./module/highscores/containers/highscores-list --module ./module/highscores
ng generate component ./module/settings/containers/settings --module ./module/settings
4. I created separate routing for every each module and added them to the main routing (app-routing.module.ts).
5. I implemented tabs following the article on NativeScript blog.
Time to run our NativeScript mobile app
If you’ve done everything I mentioned this far we can now run our mobile app in the initial stage. To do that you need to write in the terminal these commands:
tns run ios -—bundle --emulator
or
tns run android —-bundle --emulator
(depending on the device you want to run the app with).
It may take some time to build the mobile app on the emulator for the first time but fortunately, every next time you’ll be doing it faster. When the app is built, the emulator should activate with our app. In case it didn’t and some error still show up, the first thing you need to do is to write the command:
tns doctor
in the terminal. It will analyze if your computer has everything which is required by NativeScript installed. If not - it will advise what to do to fix it. In case of errors still, appear you can try to find it on StackOverflow or describe it in the comment under the article.


NativeScript Widgets
We will build the whole app using so-called widgets - the collections of Angular components in NativeScript and implementations equivalent to the native widgets for iOS and Android. It means that if you want to screen text then you will use Label component, which after compiling to native code will utilize UILabel in iOS case and android.widget.TextView on Android. You can check which native widget is used by a particular component at the bottom of documentation of every each NativeScript component. Our whole app will be based on widgets so additionally I will try to describe them when they will be used for the first time in this tutorial.
Marketplace
Sometimes you won’t find the widget you need or you’ll have to write something more complicated that uses native API of the phone. To set an example - if you would like to write an app which utilizes Camera API then Nativescript Marketplace might help a lot. It’s a collection of plugins, patterns or even ready-made sample apps for NativeScript. Using the marketplace is really easy - you have to write one command in the terminal:
tns plugin add [pluginName]
Of course, we can also install additional JavaScript libraries through npm or yarn.
That’s it for now. As you probably noticed we didn’t write a single code but we needed some theoretical background and configuration for the start. You can be more than sure coding will appear in the next part of the article and there will be quite a lot of it as we will:
- create a category button,
- show the category list on the main screen
- build the game module,
- add animations for the button.
Feel excited?
Here's PART 2 of building NativeScript app guide.
Want to create apps in cross-platform frameworks with our devs? Check our job offers and join Merixstudio team!
Navigate the changing IT landscape
Some highlighted content that we want to draw attention to to link to our other resources. It usually contains a link .
.svg)


.webp)


.svg)


.svg)
